Top CLI tools for programmers on a Mac
A list of top command line tools for programmers to increase speed and productivity on a Mac
Published on Apr 21 2025 at 9:42am
The aim of this post is to enhance and speed up your terminal terminal usage on a Mac. As a programmer you will spend a significant amount of time on the terminal. These tools will speed up common actions and help you become more productive. This post assumes you have Homebrew installed. If you don’t follow the instructions on https://brew.sh/
/bin/bash -c "$(curl -fsSL https://raw.githubusercontent.com/Homebrew/install/HEAD/install.sh)"
1. Mas - The Terminal App Store Manager
Tired of the clunky Mac App Store? Mas is a terminal app store manager that allows you to easily control and manage your apps downloaded from the App Store. It can be quite annoying and slow to open the App Store on your Macbook and this is a much cleaner and faster way to manage your apps.
Installation:
To install Mas, run the following command in your terminal:
brew install mas
Usage:
Listing installed apps: To see a list of your installed apps and their versions, use:
mas list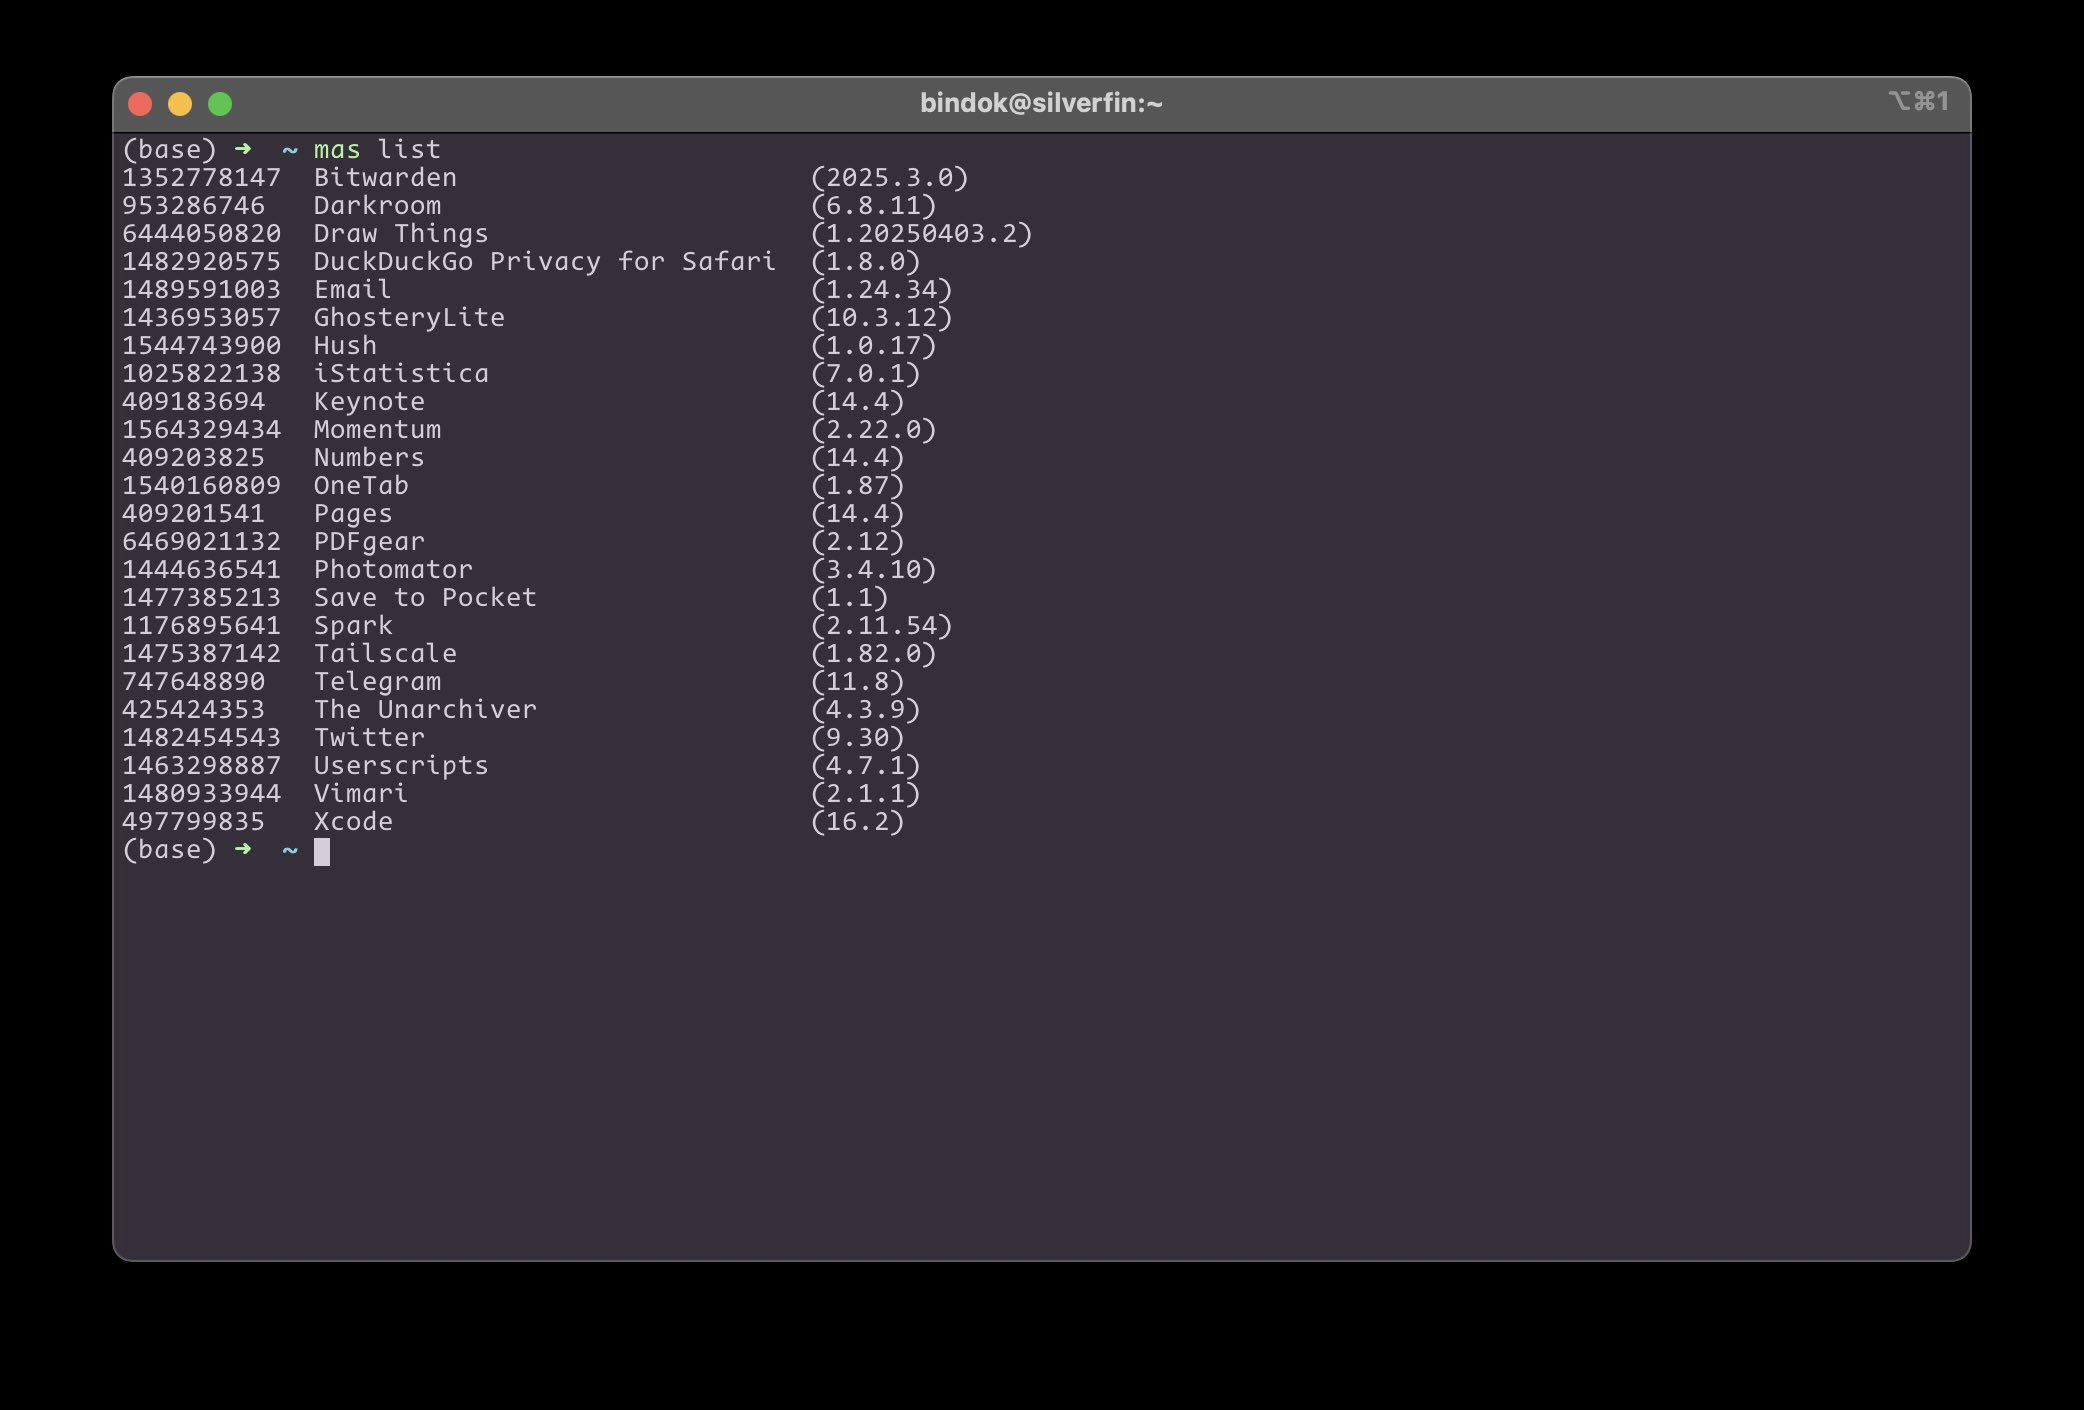
Getting app information: You can retrieve detailed information about an app using its ID:
mas info <app_id>To find the app ID, you can use
mas list. For example, for the “Neptune” app, you can grab its ID and run:mas info <Neptune_app_id>Checking for outdated apps: To see if any of your installed apps have updates available, run:
mas outdatedUpgrading apps: To install available updates, use:
mas upgradeThis is particularly useful for updating Xcode command-line tools, which the App Store might not always handle correctly.
Searching for apps: You can search for specific apps in the App Store using:
mas search <app_name>Downloading apps: To download an app from the App Store, use its ID with the
purchasecommand:mas purchase <app_id>For more commands, you can refer to the Mas GitHub page.
2. fzf - Fuzzy Finder
fzf is a powerful fuzzy finder that allows you to search through your files and directories efficiently in the terminal. The lesser you need to cdinto directories, the faster your navigation will be.
Installation:
Install fzf using Homebrew:
brew install fzf
Integration:
To integrate fzf with your shell (like zsh), you need to initialize it by adding the following line to your ~/.zshrc (or equivalent RC file):
[[ -s "$(brew --prefix)/opt/fzf/shell/completion.zsh" ]] && source "$(brew --prefix)/opt/fzf/shell/completion.zsh"
[[ -s "$(brew --prefix)/opt/fzf/shell/key-bindings.zsh" ]] && source "$(brew --prefix)/opt/fzf/shell/key-bindings.zsh"
After adding these lines, save and source your RC file (e.g., source ~/.zshrc). You can verify the installation by running fzf or fzf --version.
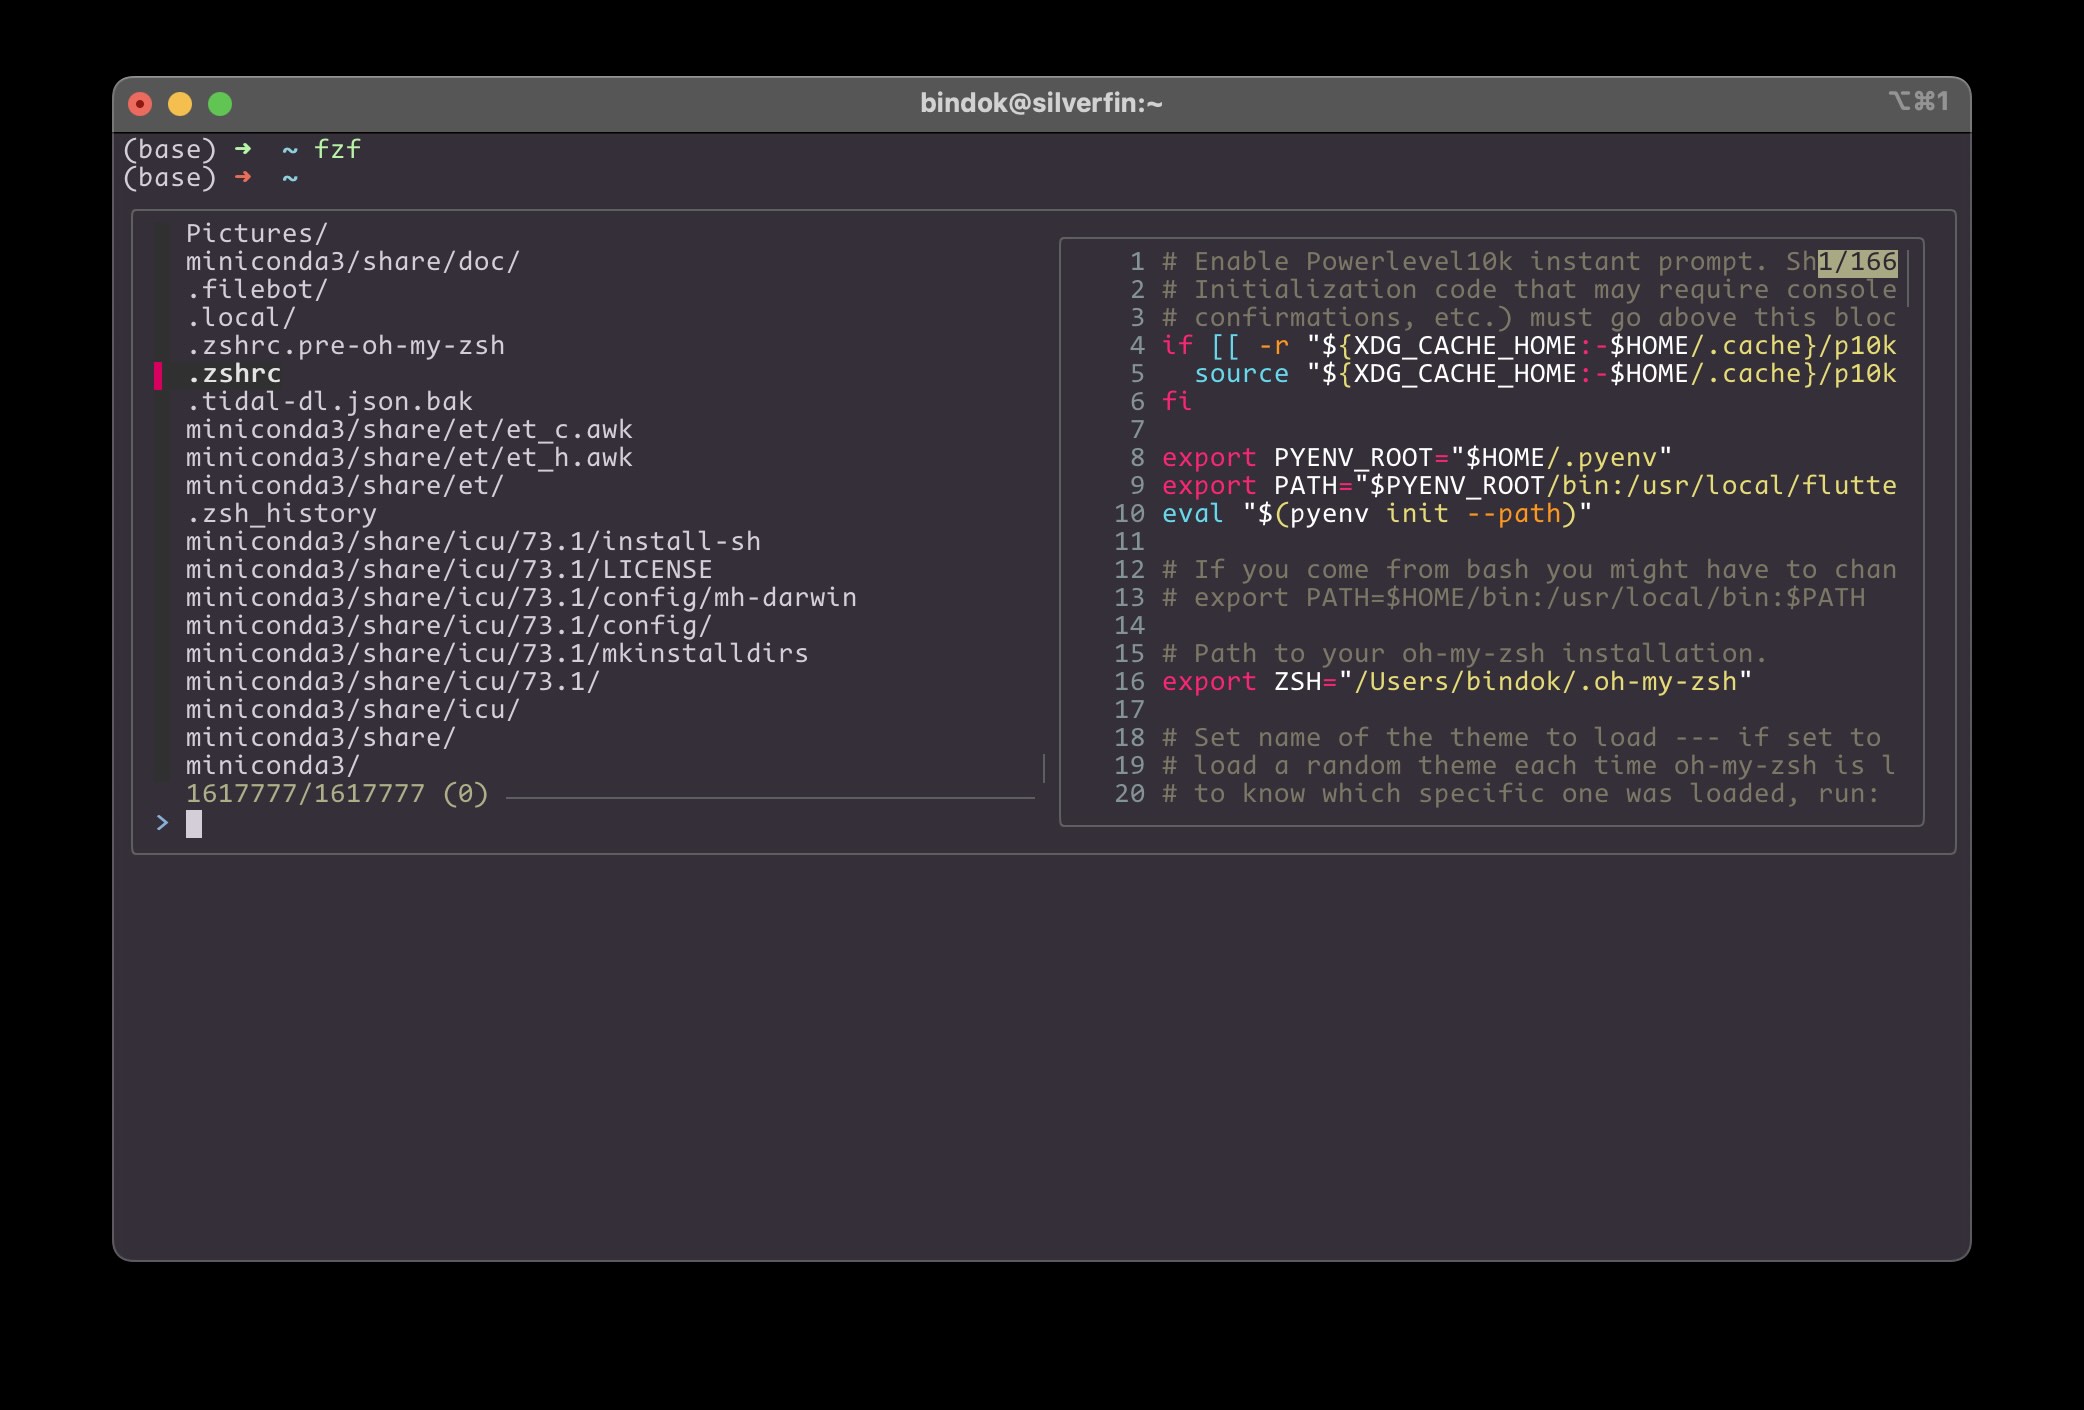
Key Bindings and Usage
Custom fzf configurations in the .zshrc file.
Ctrl+T: This key binding performs a fuzzy search for all files in the current directory (and subdirectories), usingfd(explained later) to speed up the search and excluding.gitfiles.Option+C(orAlt+C): This command specifically searches for directories, allowing you to quickly jump to a desired directory.Custom Command (
nvim Ctrl+Torcode Ctrl+T): You can also use fzf with other commands likenvim(neovim) andcode(VS Code) to fuzzy find files and open them in the respective editor. For example,nvimfollowed byCtrl+Tallows fuzzy searching through all files and opening the selected one in neovim. Similarly,code Ctrl+Tdoes the same for VS Code.
3. fd - A Simple, Fast and User-Friendly Alternative to ‘find’
You can use fd as a faster alternative to the find command, especially in your fzf setup.
Installation:
Install fd using Homebrew:
brew install fd
fd is used in the default fzf command (Ctrl+T) with the -H flag to show hidden directories and the -I flag to ignore .git files.
4. bat - A cat(1) Clone with Wings
bat is a “must-have” tool, acting as a cat replacement but with syntax highlighting for code views.
Installation:
Install bat using Homebrew:
brew install bat
Usage:
Simply use bat followed by a filename to view its content with syntax highlighting:
bat <filename>

This is especially useful when combined with fzf.
5. tldr - Collaborative Cheat Sheets for Console Commands
tldr is similar to man pages but providing only the most commonly used commands and examples. You can use it to quickly get the essential commands without diving into the detailed explanations of man pages.
Installation:
Install tldr using Homebrew:
brew install tldr
Usage:
To get a quick overview of a command, use tldr followed by the command name:
tldr <command>
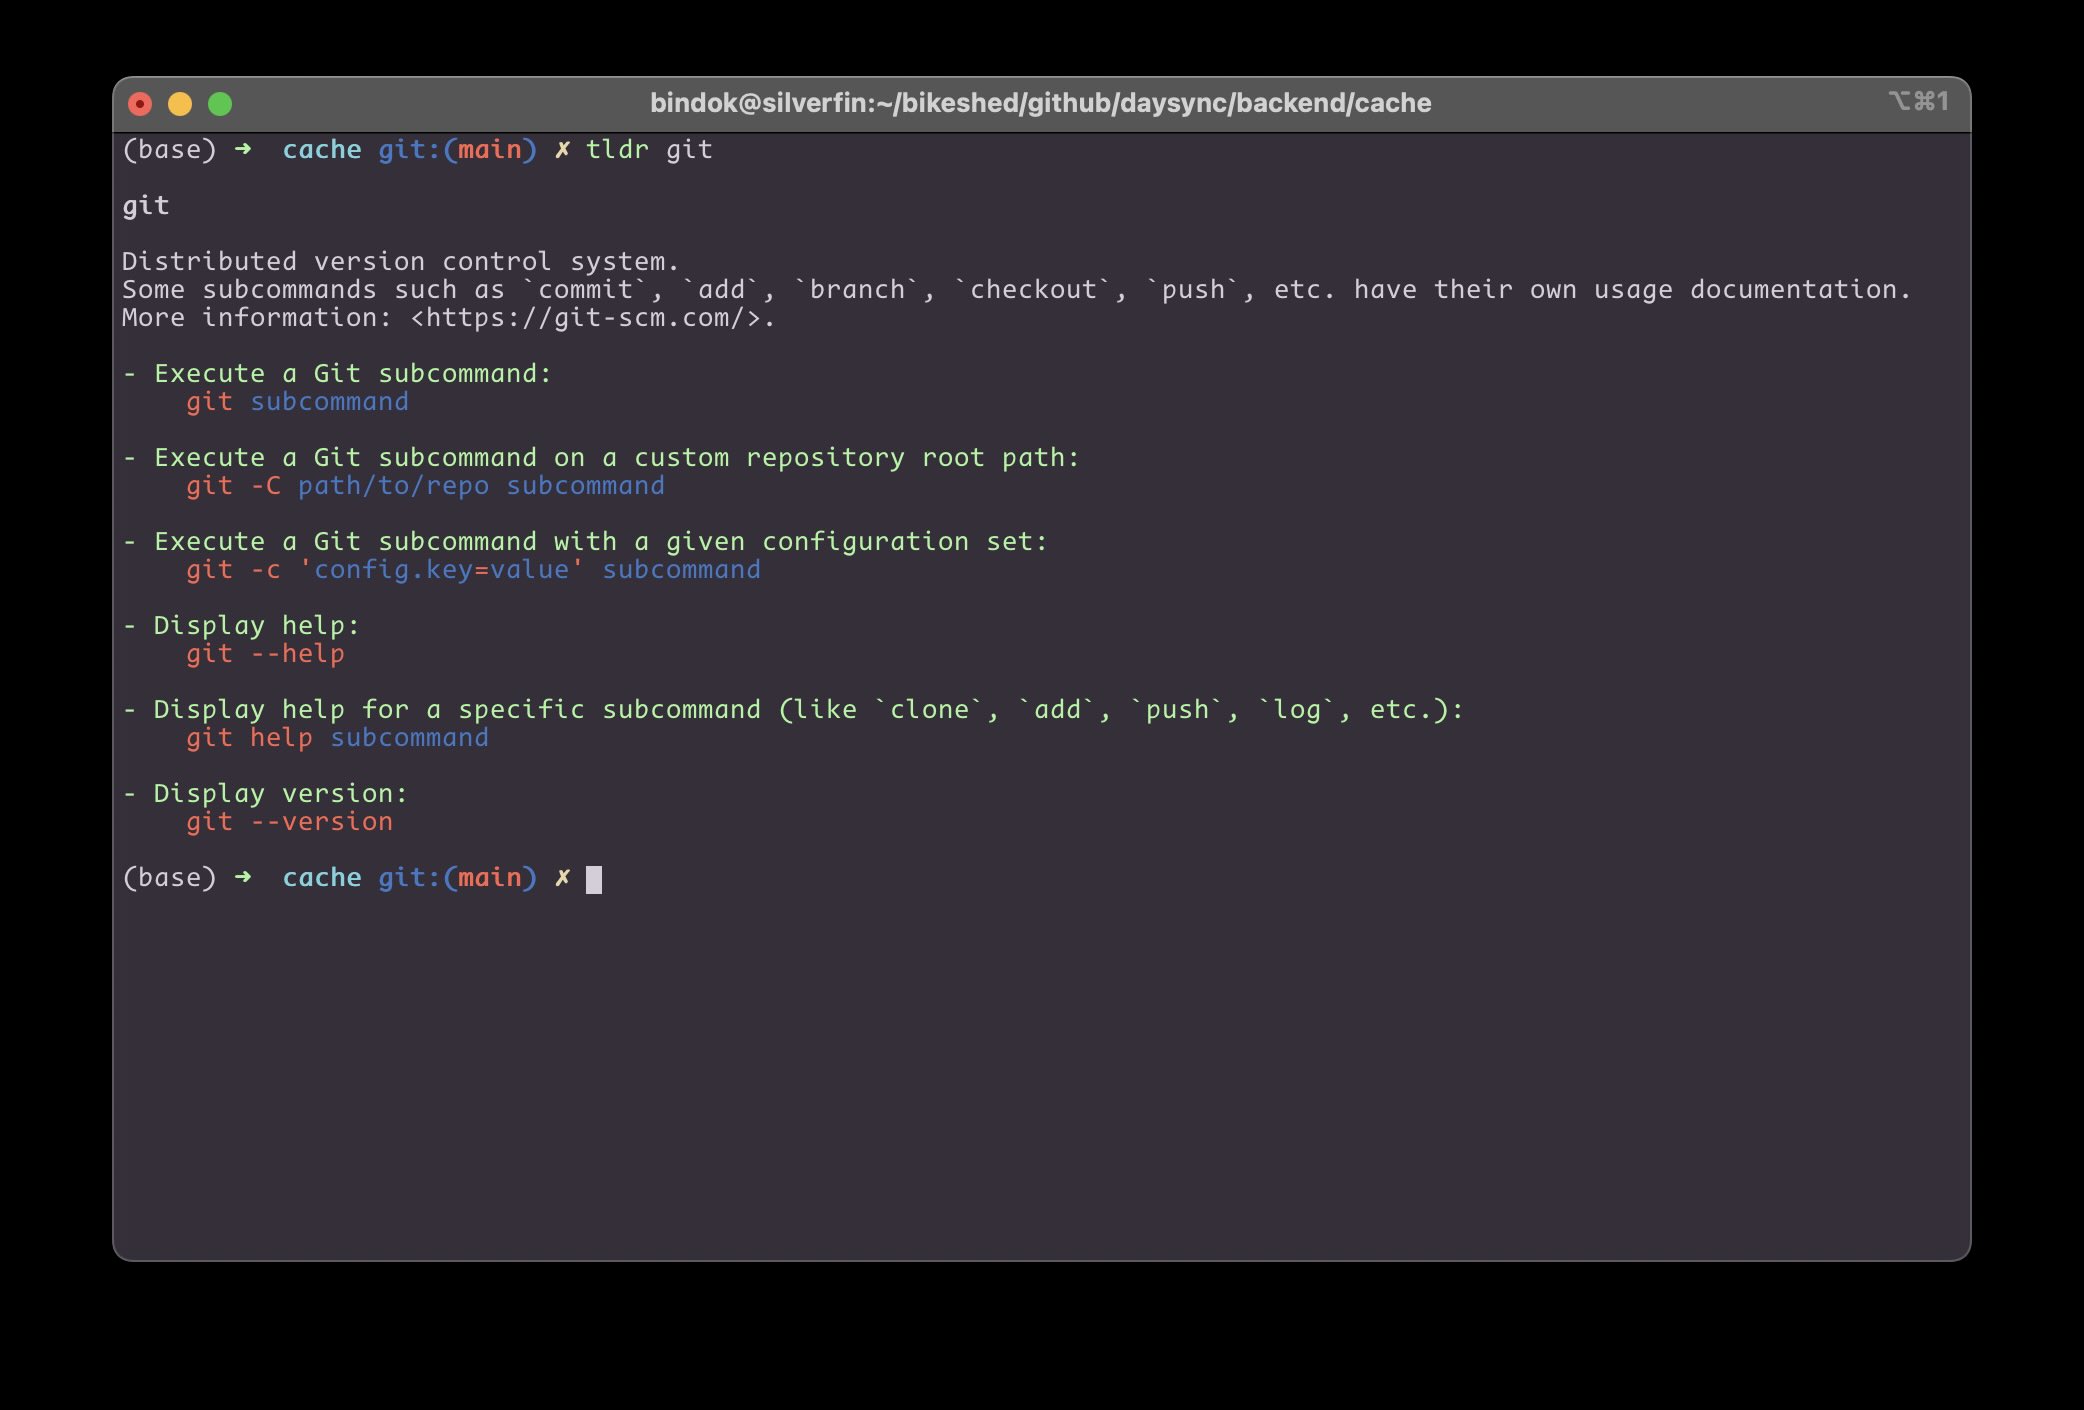
For example:
tldr git
6. fzf.git - Fuzzy Finder Extensions for Git
fzf.git integrates fzf with Git, providing convenient fuzzy searching for Git branches, remotes, and worktrees. This can be sourced into your .zshrc file
Installation:
Start by cloning the fzf.git repository:
git clone https://github.com/junegunn/fzf.git ~/.fzf
~/.fzf/install
Usage (via key bindings):
The following key bindings should work in a Git repository with a remote:
Ctrl+GB: Shows all Git branches.Ctrl+GR: Shows all Git remotes.Ctrl+GW: Shows Git worktrees.
7. zoxide - A Smarter cd Command
zoxide is a tool that learns your most frequently used directories and allows you to jump to them quickly without typing the full path. It remembers paths based on recency.
Installation:
Install zoxide using Homebrew:
brew install zoxide
Integration:
Add the following line to your ~/.zshrc file to initialize zoxide:
eval "$(zoxide init zsh)"
I have added an alias to zoxide in my ~/.bashrc to replace the cd command -
alias cd='z'
This can be super convenient if you frequently traverse deep folder hierarchies.
Save and source your RC file.
Usage:
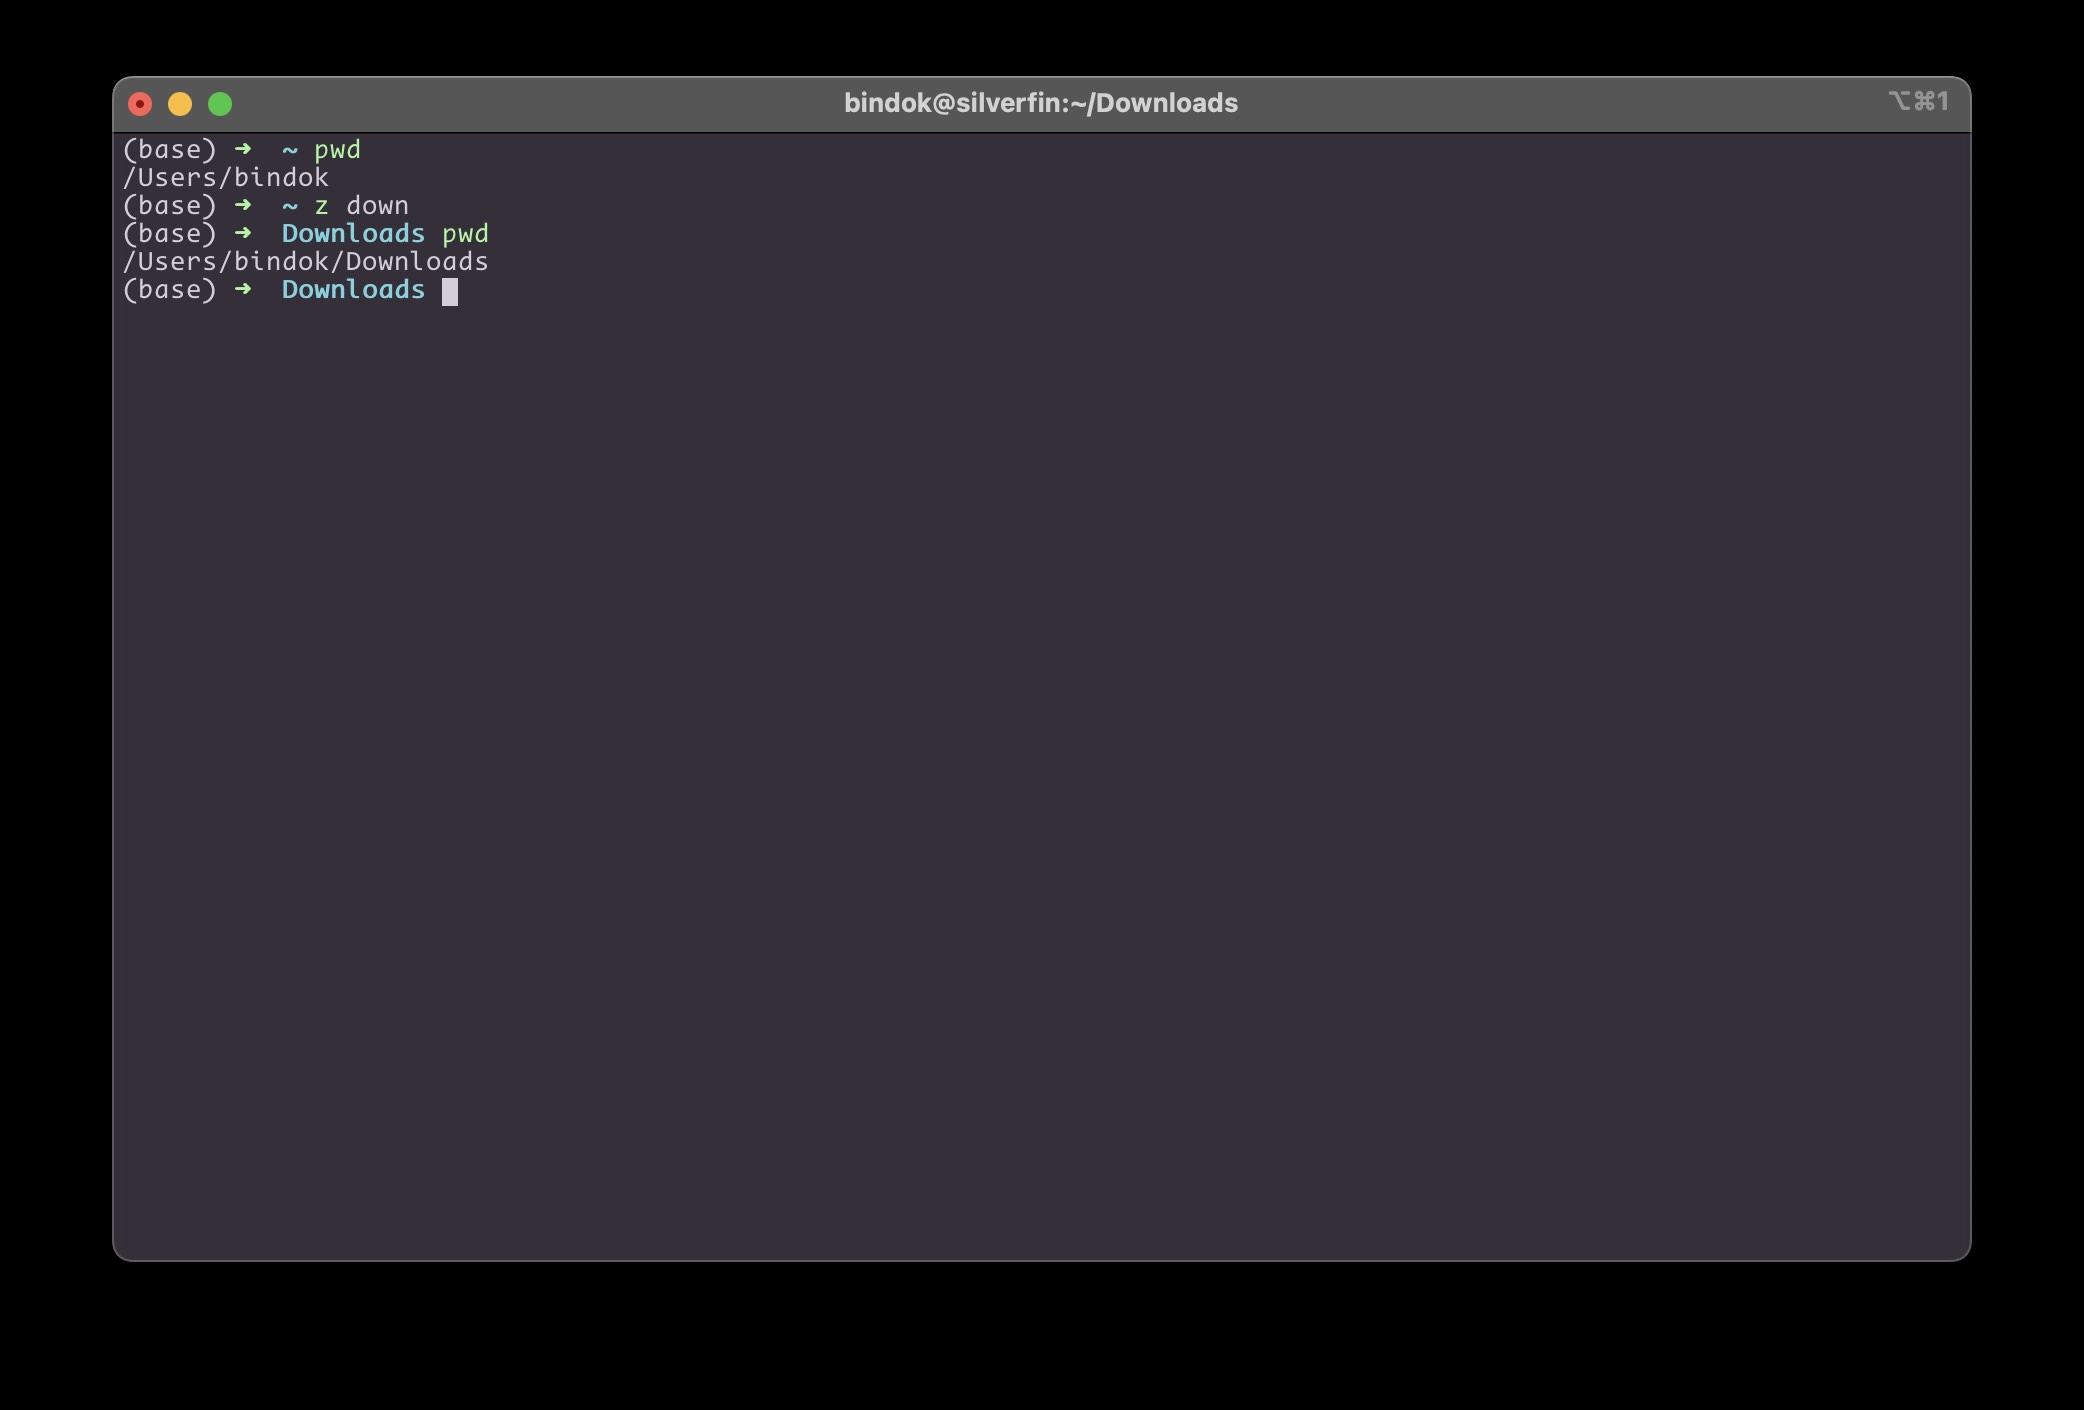
Jumping to a directory: Once zoxide has learned some directories (by you navigating into them using
cdat least once), you can jump to them using thezcommand followed by a part of the directory name:z <partial_directory_name>For example, after navigating to a “projects” directory, you can later jump back with
z pro.Returning to home: Typing
zalone will take you back to your home directory.
8. eza - A Modern, Feature-Rich Replacement for ls
eza is an enhanced version of the ls command, offering improved output with icons, colors, and more. It provides better visual clarity.
Installation:
Install eza using Homebrew:
brew install eza
Usage:
You can have your ls command aliased to eza with various options configured in your .zshrc:
alias ls="eza -l --icons --group-directories-first"
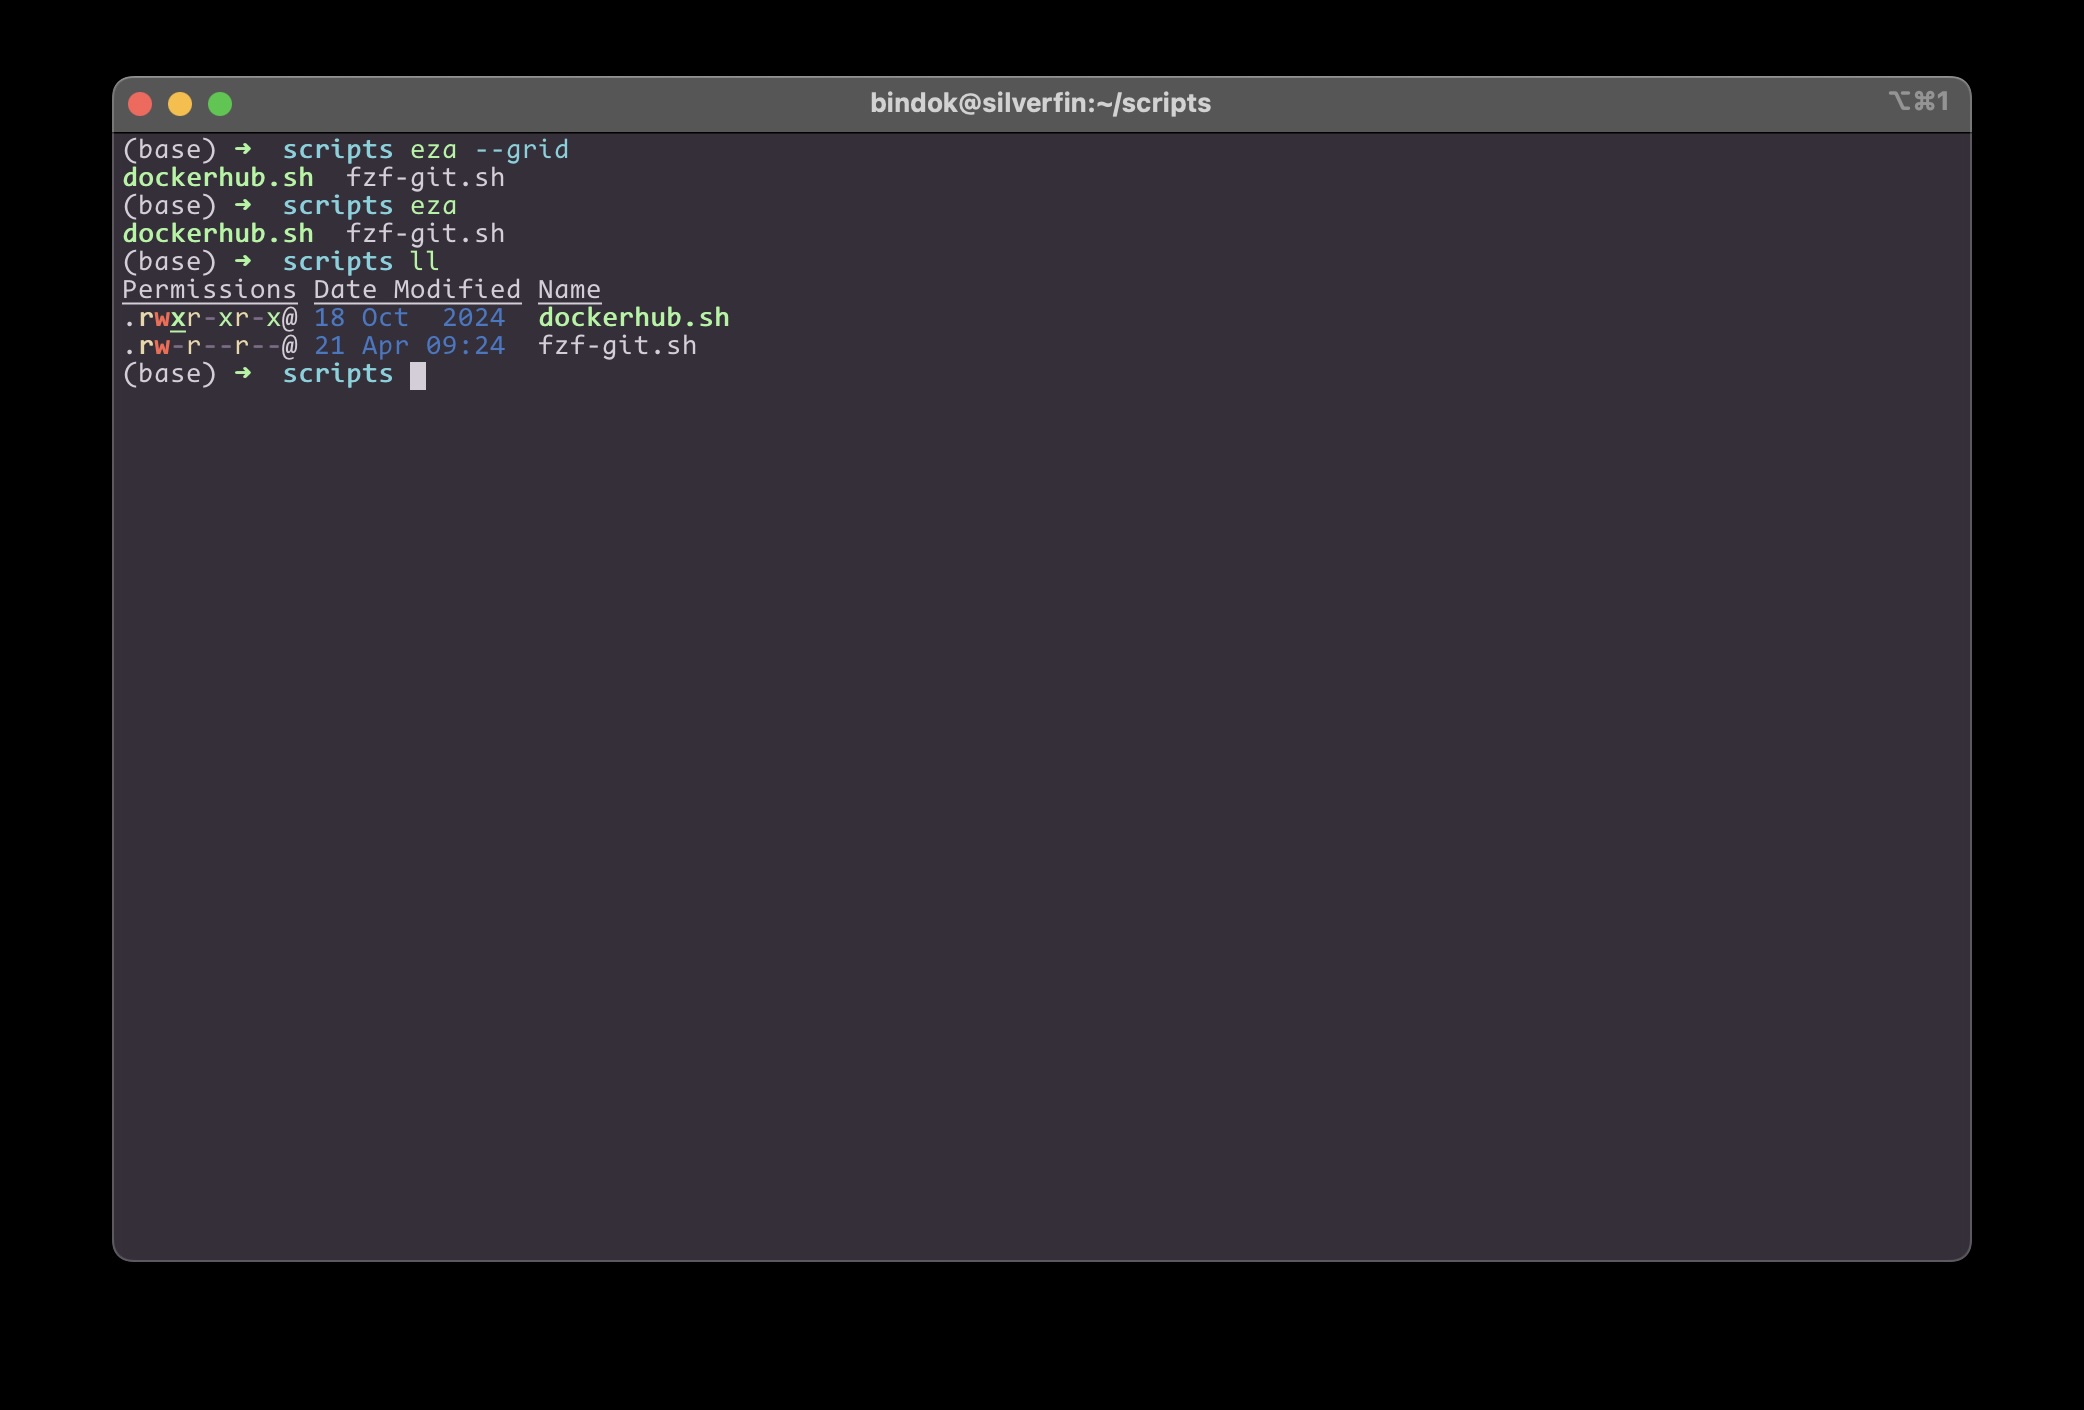
Basic listing: Running
ls(which isezain this case) will provide a detailed listing with icons and grouped directories.Grid view: You can also configure eza to display output in a grid format:
alias ls="eza --grid --icons"Integration with fzf: The
Option+C(directory search) in fzf also includes eza for previews, showing detailed information about the selected directory.
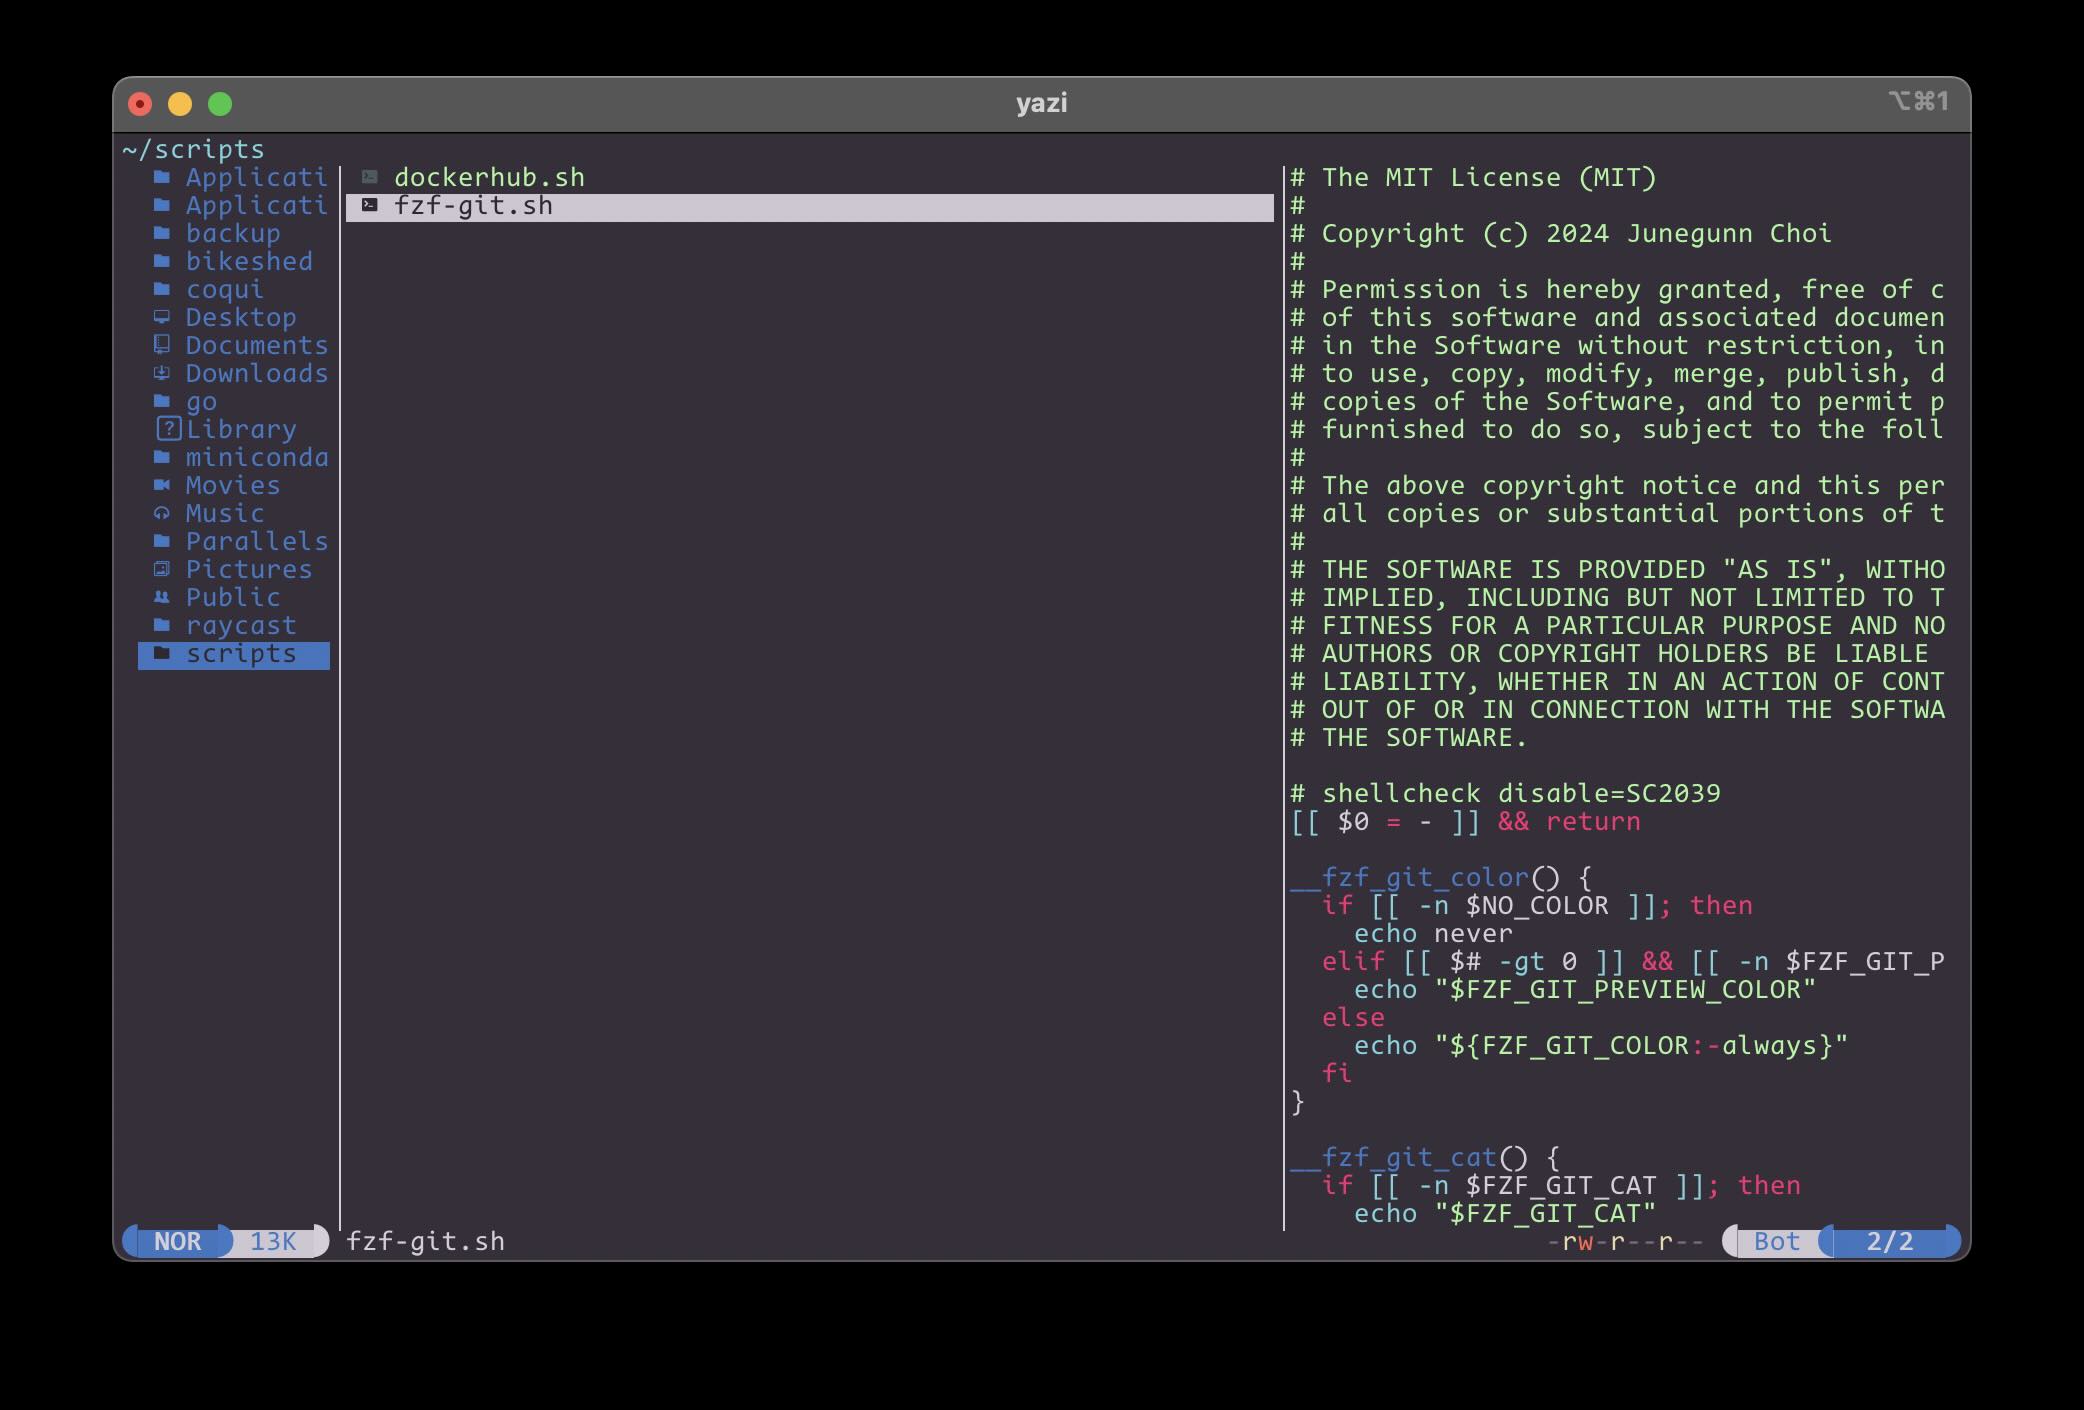
9. yazi - A Blazing Fast Terminal File Manager
yazi is a terminal file manager built on Rust. It is a great addition to your terminal.
Installation:
Install yazi using Homebrew:
brew install yazi ffmpeg sevenzip jq poppler fd ripgrep fzf zoxide resvg imagemagick font-symbols-only-nerd-font
yazi works well with other tools but if you don’t want to install the others use brew install yazi only
Usage:
Running y will open the yazi file manager if you add the following function to your ~/.bashrc -
function y() {
	local tmp="$(mktemp -t "yazi-cwd.XXXXXX")" cwd
	yazi "$@" --cwd-file="$tmp"
	if cwd="$(command cat -- "$tmp")" && [ -n "$cwd" ] && [ "$cwd" != "$PWD" ]; then
		builtin cd -- "$cwd"
	fi
	rm -f -- "$tmp"
}
Navigation: Use the up and down arrow keys to navigate within the current directory, and the left and right arrow keys to go to the previous and next directories.
Customization: Yazi can be customized by creating a
.config/yazidirectory and adding configuration files likeyazi.toml,keymaps.toml, andthemes.toml. Themes can be downloaded from the Yazi GitHub repository.Key Mappings: Use Vim-like key mappings (configured in
keymaps.toml) such asjandkfor moving up and down,lto enter a directory, andhto go back.Themes: Themes can be configured in the
themes.tomlfile.Basic File Operations: Yazi offers various commands:
a: Add a file (e.g.,test.js)./: Create a directory.y: Yank (copy) a file.p: Paste a file.d: Delete a file to trash.D: Permanently delete a file.x: Cut a file./or?: Start a search.Enter: Open a file with the default editor (can be configured, e.g., to neovim).:: Run a shell command.
10. tmux - Terminal Multiplexer
tmux is a powerful terminal multiplexer that allows you to manage multiple terminal sessions within a single window.
Installation:
Install tmux using Homebrew:
brew install tmux
Configuration:
The ~/.tmux.conf file is used for custom configurations and there’s a ~/.tmux/plugins directory for tmux plugins.
Key Bindings and Usage:
Prefix Key:
Ctrl+bis used as the prefix key.Splitting Panes:
Ctrl+bthen%Split vertically.Ctrl+bthen": Split horizontally.
Reload Configuration:
Ctrl+bthenr: Reloads the tmux configuration.Pane Resizing:
Ctrl+bthenH,J,K, orL(using Vim-like motion keys): Resizes panes.Selection Mode:
Ctrl+bthen[: Enters selection mode, allowing you to copy text.Tmux Sessionizer (via script): A script to manage tmux sessions.
Tmux Plugin Manager (TPM): TPM is used to manage tmux plugins. After installing TPM (by cloning its GitHub repository), you need to add a line to the end of your
~/.tmux.confto run the TPM configuration.run '~/.tmux/plugins/tpm/tpm'Plugins: The following plugins can be used:
tmux-plugins/tpm: The tmux plugin manager itself.christoomey/vim-tmux-navigator: Allows seamless navigation between Vim and tmux panes using Vim motion keys.thewtex/tmux-sessionx: Provides an enhanced session management interface, accessible withCtrl+bthenO. It allows easy switching, creation (by typing a new name), and renaming (withCtrl+r) of tmux sessions.- Plugins for online status, battery, and theming.
tmux-plugins/tmux-resurrect: Saves and restores tmux sessions.tmux-plugins/tmux-continuum: Automatically saves tmux sessions every 15 minutes (requirestmux-resurrect).
Plugin Management: After setting up TPM and listing plugins in ~/.tmux.conf, you need to:
- Save the
~/.tmux.conffile. - Reload the tmux configuration:
Ctrl+bthenr. - Install the plugins:
Ctrl+bthenI(capital I).
After this, kill all tmux servers (tmux kill-server) and start a new tmux session.
Tmux allows for quickly switching between different project sessions, reducing the need to constantly navigate through directories. I might end up writing a more detailed post on Tmux because it offers so much functionality and deep customisation.
These command-line tools can significantly enhance a programmer’s terminal experience, making tasks more efficient and enjoyable. By following the installation and usage instructions on this page, you can start integrating these tools into your workflow. Don’t hesitate to explore their advanced features and configurations to tailor them to your specific needs. Remember to refer to the respective project GitHub pages for more detailed information and options.
Tags: zsh , programming , cli