Fujifilm Film Simulations - My Favourite Recipes
A look at Fujifilm's film simulations, and how they can be used to re-create a timeless film look
Published on Oct 3 2025 at 4:13pm
Film simulations are what makes Fujifilm cameras truly special. These carefully crafted digital profiles transform raw sensor data into images that capture the essence and character of legendary analog film stocks. Far from simple filters or presets, these sophisticated algorithms represent decades of colour science expertise and pay homage to Fujifilm’s rich heritage.
Understanding Film Simulations and X-Trans Sensors
At their core, film simulations are complex processing algorithms that recreate the distinctive characteristics of classic photographic films. Unlike basic colour presets or LUTs, these sophisticated simulations adjust contrast curves, colour rendition, and tonal responses based on exposure levels, luminosity and ISO settings. The magic happens when these simulations interact with Fujifilm’s unique X-Trans sensor technology.
The X-Trans sensor differs fundamentally from traditional Bayer sensors used by most camera manufacturers. Instead of the standard RGGB pattern, X-Trans sensors arrange colour filters in a more randomised pattern that resembles the grain structure of film.
The Fujifilm X-T2: My current camera
The X-T2, is my current Fujifilm camera. I bought it used for about $800 AUD about 6 years ago. It has a 24.3-megapixel X-Trans CMOS III sensor and X-Processor Pro. My first Fujifilm camera was a X100T, which was a birthday gift from my wife. I’ve also owned a Fujfilm X100VI, which I bought after falling for the hype and the fact that it was sold out everywhere, only added fuel to the fire. I sold it after a recent trip to New Zealand, as I found the X-T2 perfectly suited to my needs. I also didn’t end up using any of the features that the X100VI had, such as the hybrid viewfinder. The 40MP sensor also made image sizes quite large, and for what I used it for (street photography mainly), the extra resolution wasn’t necessary.
The X-T2 includes the following film simulations:
- Provia/Standard - The neutral baseline simulation offering accurate colour reproduction
- Velvia/Vivid - Punchy, saturated colours ideal for landscapes and nature photography
- Astia/Soft - Gentle contrast with pleasing skin tones, perfect for portraits
- Classic Chrome - Muted, sophisticated tones with distinctive character
- Pro Neg. Hi - Professional portrait rendering with lifted shadows and flattering skin tones
- Pro Neg. Std - Standard professional negative film look with natural colour balance
- Acros - Premium black and white simulation with exceptional grain structure
- Acros+Ye (Yellow Filter) - Enhanced contrast with slightly darkened skies
- Acros+R (Red Filter) - Dramatic sky contrast and enhanced skin rendering
- Acros+G (Green Filter) - Lightened foliage with natural skin tones
- Monochrome - Standard black and white conversion
- Monochrome+Ye/R/G - Traditional black and white with filter effects
- Sepia - Classic warm monochrome tones
Newer cameras have added additional simulations like Classic Negative, Nostalgic Neg, and Reala Ace, but the X-T2’s selection remains highly versatile and capable of covering a wide range of photographic styles.
My Favourite Film Simulation (Colour): Classic Chrome
Among all colour film simulations, Classic Chrome is my favourite out of the box film simulation. Loosely inspired by the aesthetic of Kodachrome slide film, Classic Chrome delivers a distinctive look that has become synonymous with contemporary street and documentary photography.
Key Characteristics:
- Muted colour palette with reduced global saturation that prevents oversaturated, unnatural-looking images
- Cool colour bias with blues shifting towards cyan, creating a sophisticated modern aesthetic
- Elevated shadow contrast whilst maintaining softer highlight rendering for balanced exposure
- Distinctive skin tone rendering that can be both flattering and challenging depending on lighting
- Excellent editing latitude making it ideal as a base for custom recipes and post-processing
Classic Chrome’s genius lies in its complexity. Rather than applying uniform desaturation across the spectrum, it selectively reduces saturation in yellows and greens whilst preserving some vibrancy in blues and reds. This selective colour treatment, combined with its unique contrast curve, creates that unmistakable “chrome” look that is both modern and timeless.
The simulation excels in mixed lighting conditions and provides exceptional latitude for both JPEG shooters and those who prefer to use it as a starting point for post-processing. Its muted nature prevents the “over-cooking” that can plague more saturated simulations, making it an excellent choice for photographers who value subtlety and sophistication over punch and drama.
Whether shooting urban landscapes, street photography, or documentary work, Classic Chrome consistently delivers.
My Recipe - Classy Chrome
Building upon Classic Chrome’s exceptional foundation, I’ve developed a personalised recipe that enhances its characteristics whilst maintaining its distinctive character. This tweaked version addresses some of the simulation’s more challenging aspects while amplifying its strengths:
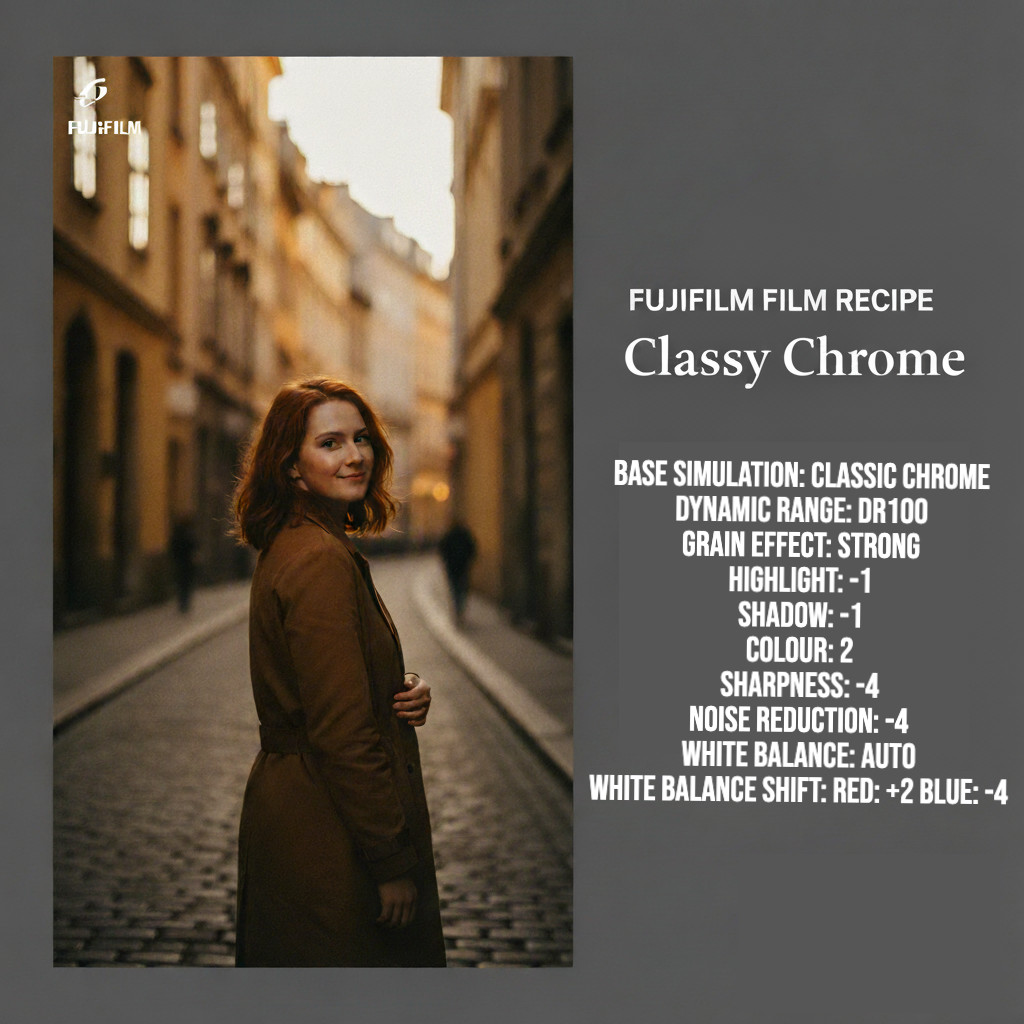 Classy Chrome Recipe Settings
Image Examples
 A photo captured using the Provia Standard recipe
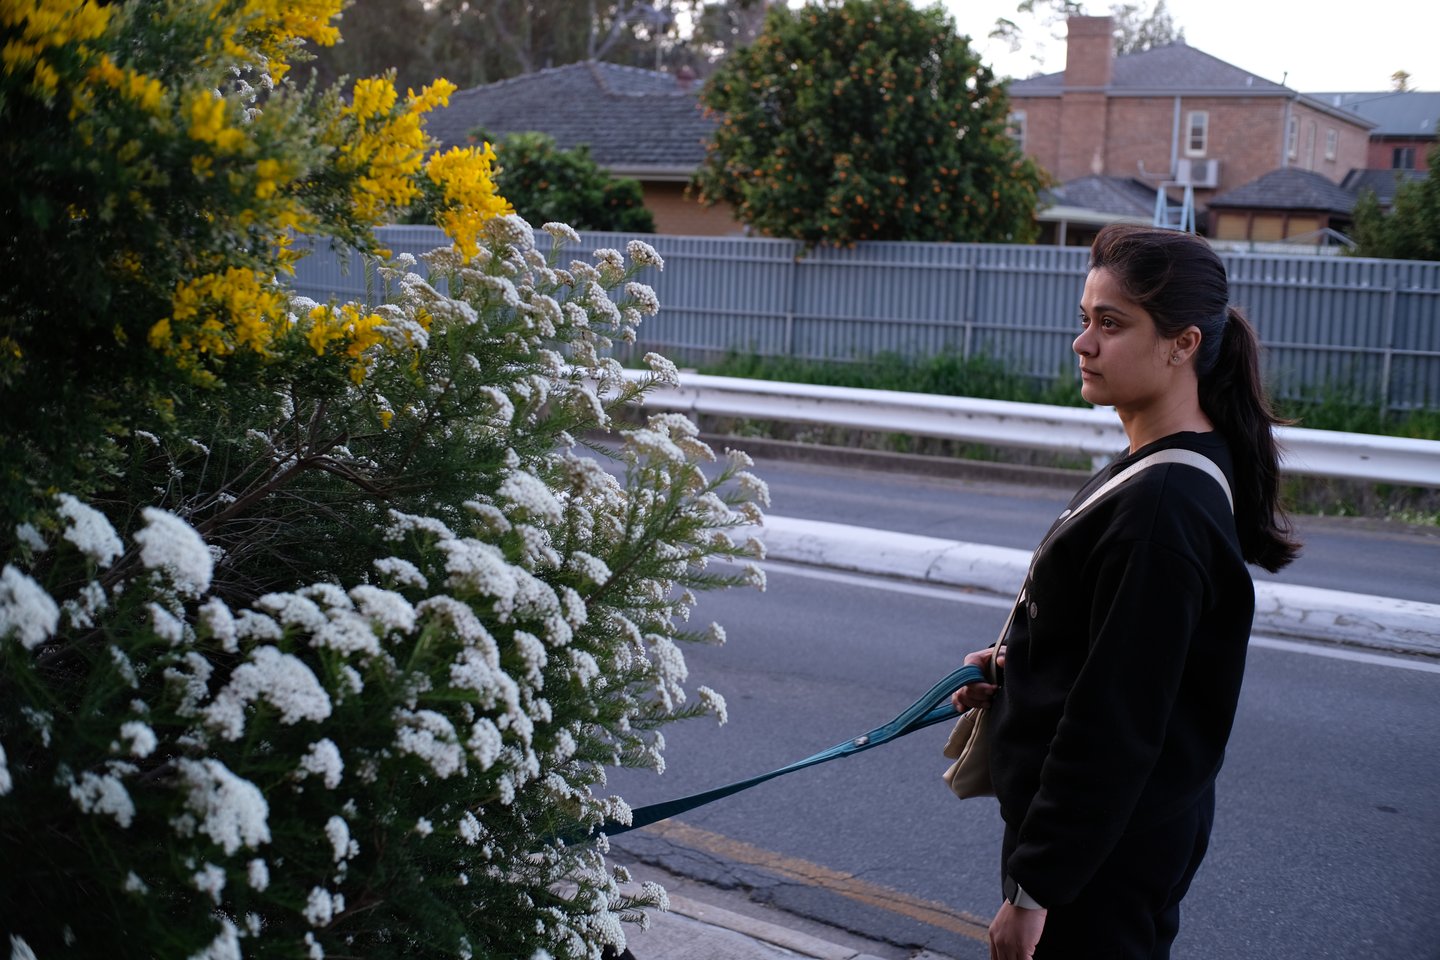
 A photo captured using the Classy Chrome recipe
 A photo captured using the Provia Standard recipe
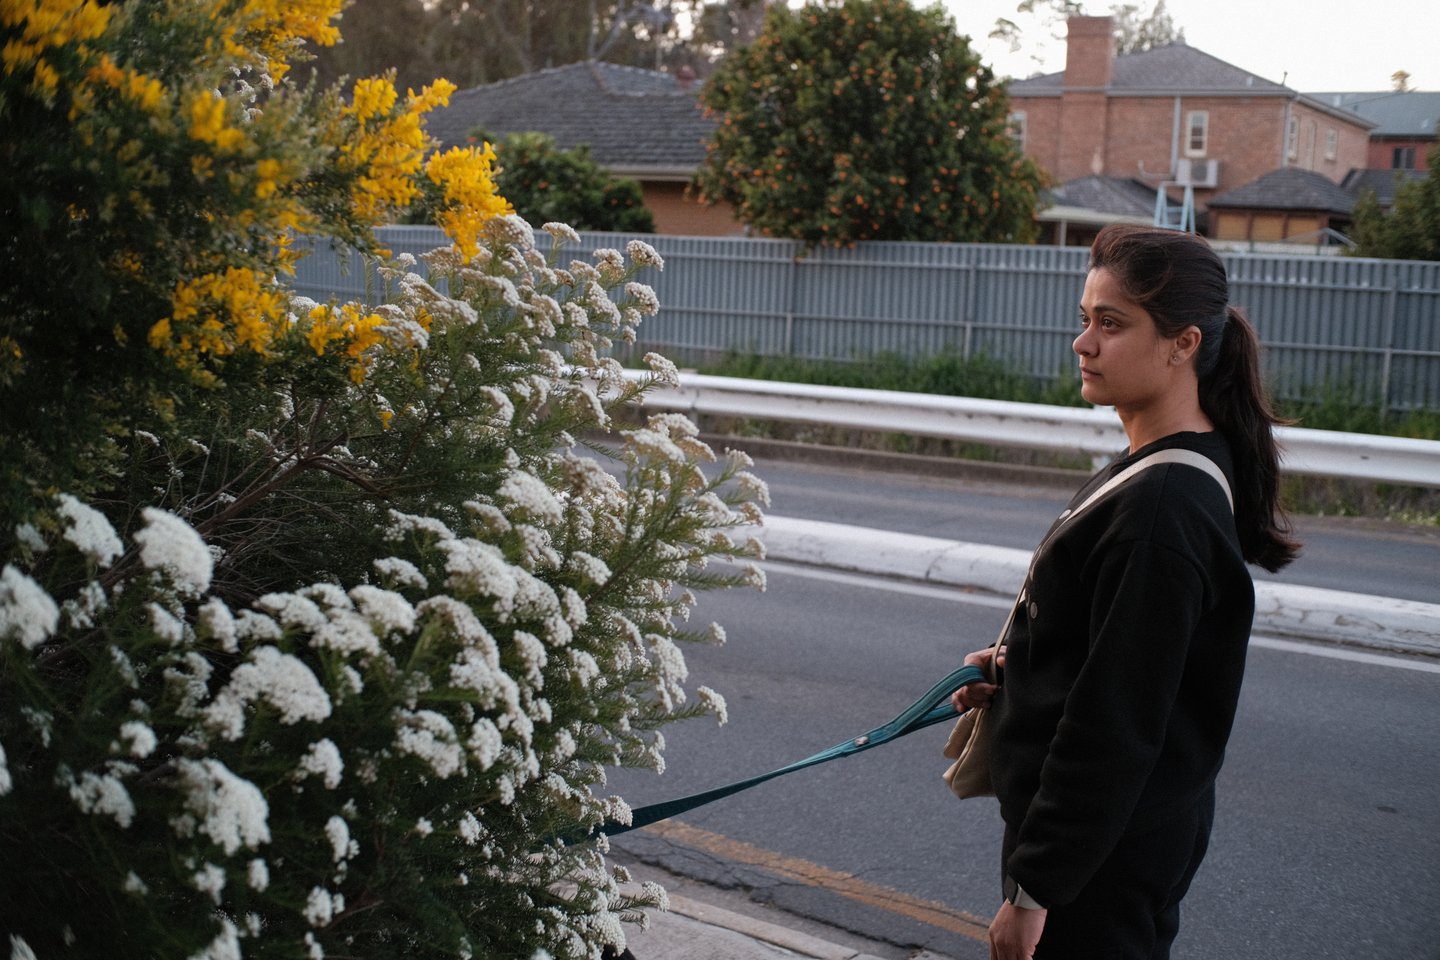
 A photo captured using the Classy Chrome recipe
This recipe maintains Classic Chrome’s sophisticated character whilst adding slightly more warmth and shadow detail. The modest grain effect provides subtle texture reminiscent of actual film photography, whilst the adjusted highlight and shadow settings improve the overall tonal balance for more challenging lighting conditions commonly encountered in street and documentary work. I add some warmth to skin tones to make them more flattering, especially in mixed lighting.
The slight colour boost prevents the simulation from appearing too flat whilst maintaining its distinctive muted aesthetic. Overall, this has become my go-to recipe which I use extensively for street photography, travel, and everyday shooting.
My Favourite Film Simulation (Black and White): Acros
I am biased towards black and white photography, and most of my photos are shot in black and white. Whilst Classic Chrome captures my heart for colour work, Acros is my goto for black and white street photography. Named after Fujifilm’s legendary Neopan Acros 100 film, this simulation represents over a decade of research and development in digital monochrome reproduction.
Key Characteristics:
- Ultra-fine grain structure that scales naturally with ISO, maintaining character without becoming distracting
- Exceptional shadow detail without sacrificing contrast or losing the dramatic black and white aesthetic
- Print-like texture that evokes traditional darkroom aesthetics and silver gelatin prints
- Intelligent noise handling that mimics film grain characteristics rather than digital artifacts
- Superior highlight rolloff preventing harsh clipping whilst maintaining detail in bright areas
- Natural tonal gradation that creates smooth transitions between tones
Acros differs fundamentally from simple black and white conversion or basic monochrome modes. Its sophisticated tone curve provides harder contrast in the midtones and highlights whilst maintaining gentle shadow gradation. This creates images with exceptional clarity and depth that genuinely rival traditional film photography.
The simulation includes three filter variants that replicate the effect of coloured filters used in traditional black and white film photography:
- Acros+Y (Yellow Filter): Slightly enhanced contrast with darkened skies and improved cloud definition
- Acros+R (Red Filter): Dramatic sky contrast, enhanced skin tones, and increased separation between red objects and backgrounds
- Acros+G (Green Filter): Lightened foliage with natural skin rendering and improved landscape tonal separation
The simulation’s ability to maintain detail across the entire tonal range makes it exceptionally versatile, working equally well in high-contrast situations and subtle, low-contrast scenes.
My Recipe - Acros The Street
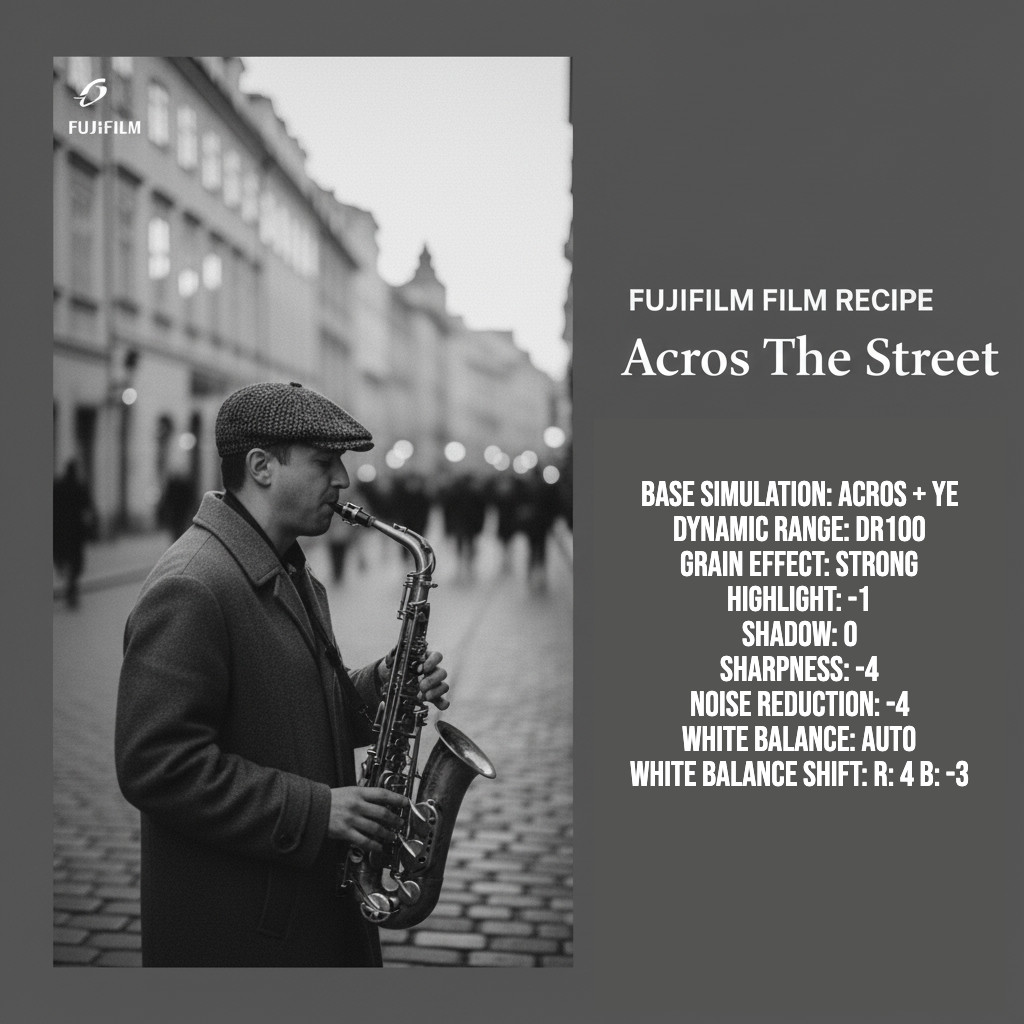 Acros The Street Recipe Settings
Image Examples
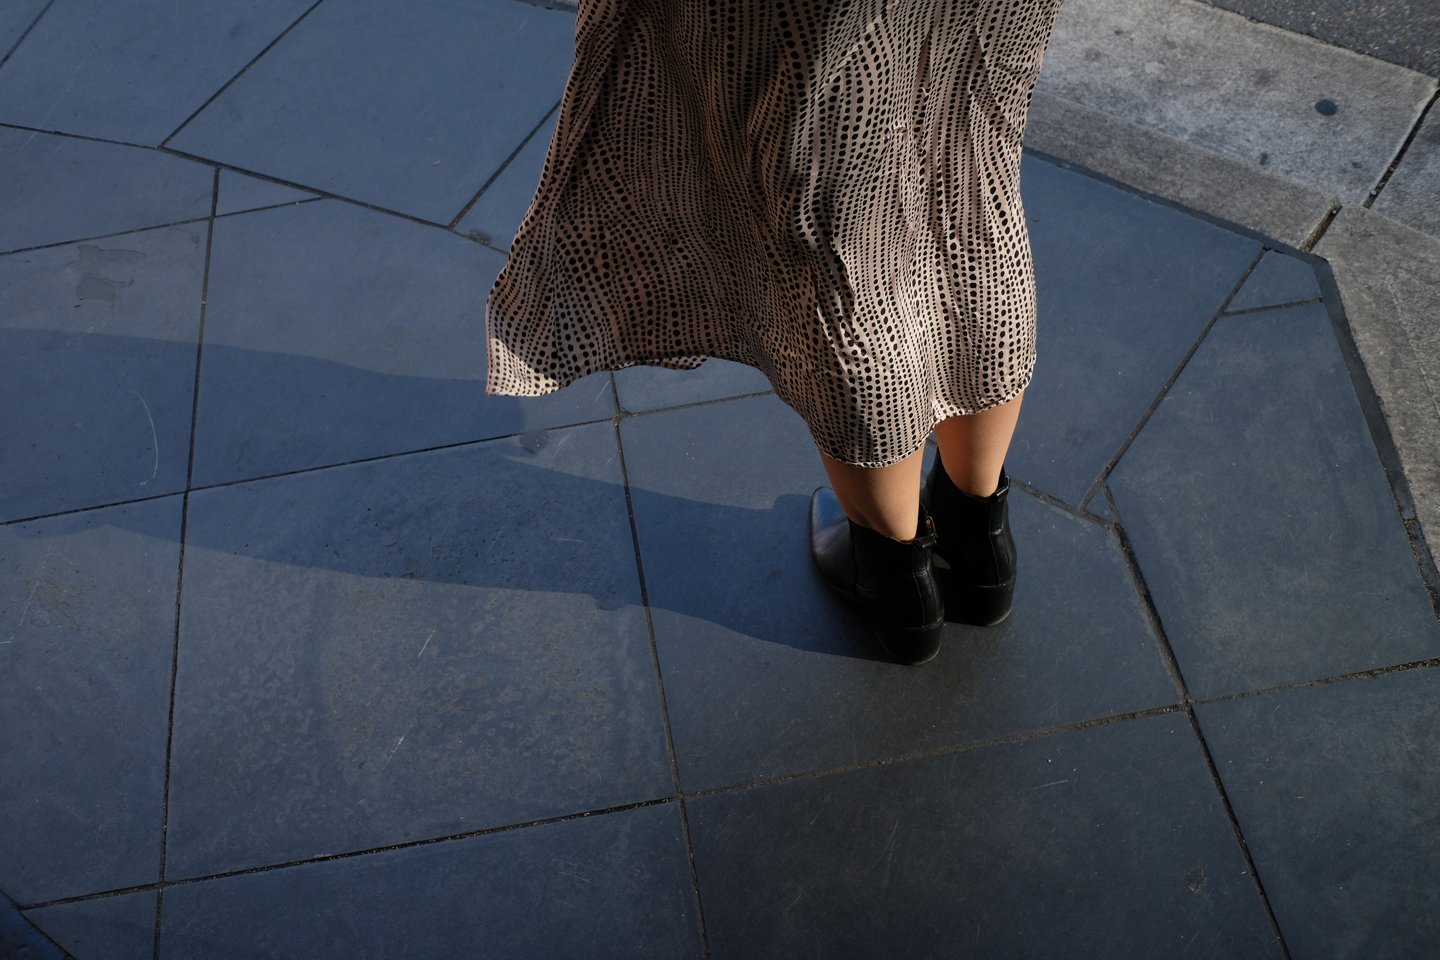
A photo captured using the Provia Standard recipe
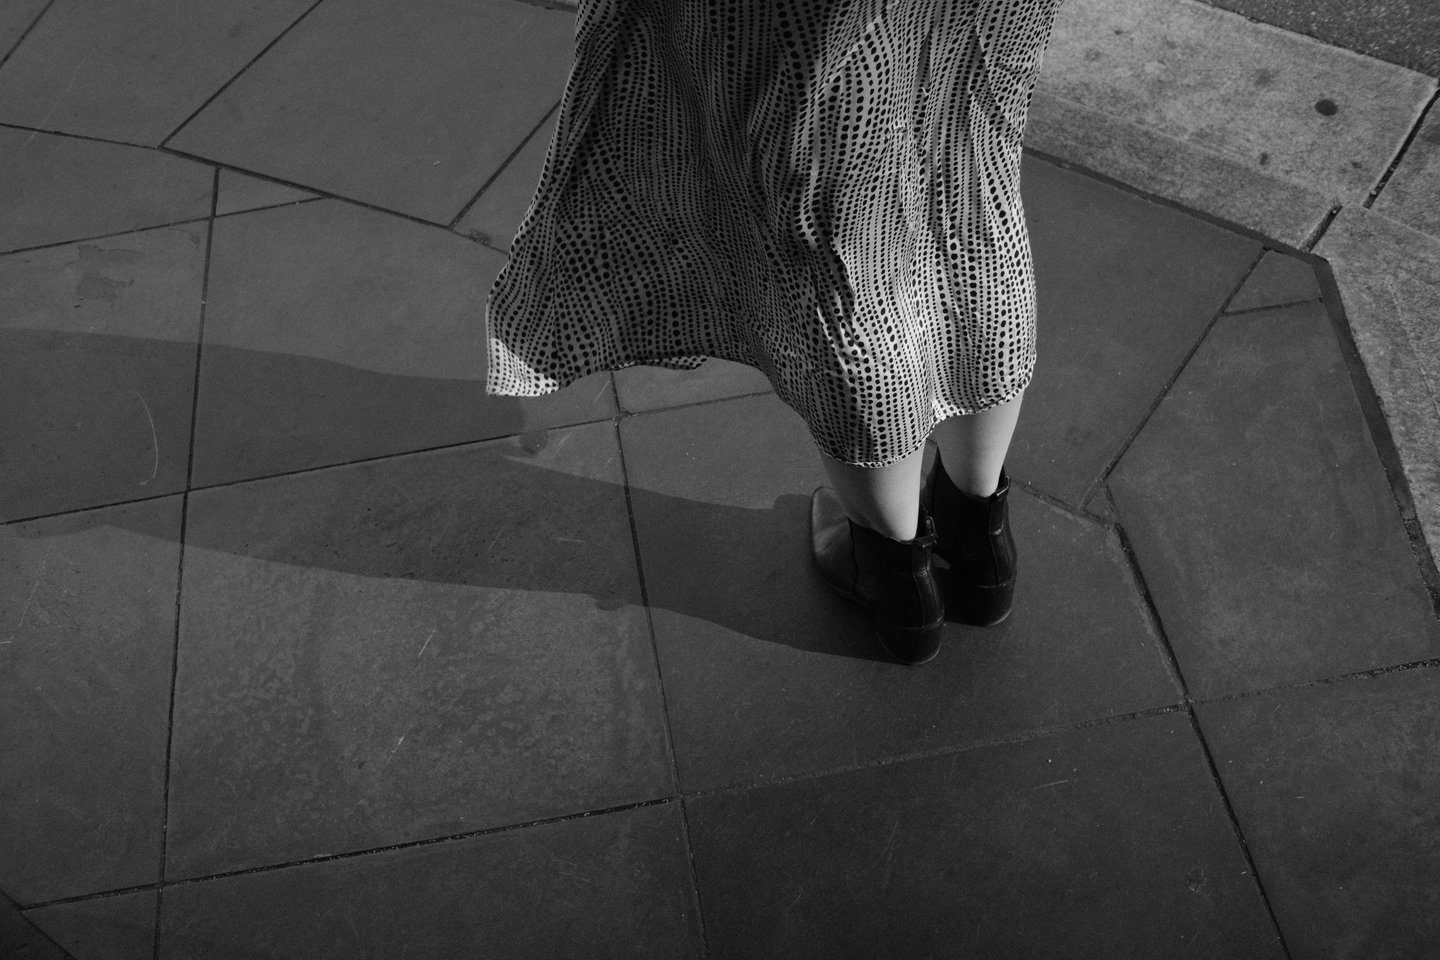
 A photo captured using the Acros The Street recipe
A photo captured using the Provia Standard recipe
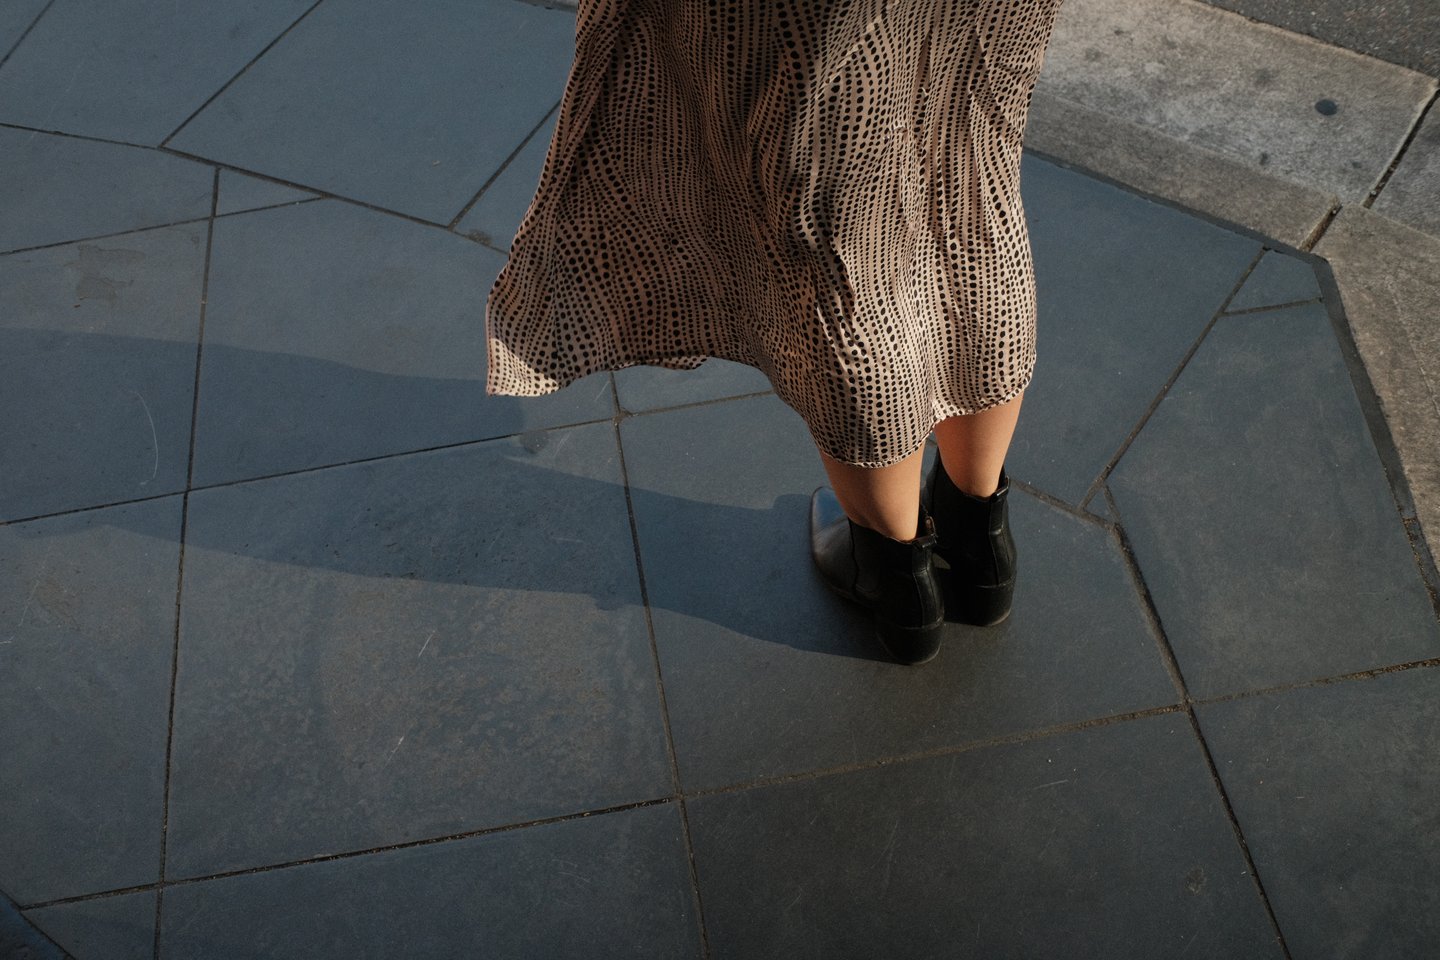
 A photo captured using the Acros The Street recipe
This recipe enhances some of Acros’s already exceptional characteristics. I’ve tweaked it to suit my everyday walk around street photography needs. The yellow filter variant provides a nice balance between contrast and tonal separation without being too harsh.
Customising Your Look: Camera Settings That Transform Simulations
Fujifilm cameras offer extensive customisation options that can dramatically alter any film simulation’s character. Understanding these controls allows photographers to create truly personalised looks that suit their vision and shooting style:
Tone Curve Controls:
Highlight (-2 to +4) -
Adjusts bright area contrast and detail retention. Negative values preserve highlight detail, while positive values increase contrast
Shadow (-2 to +4) -
Controls dark area detail and overall mood. Positive values lift shadows for a more open look, negative values deepen shadows for drama
Colour and Detail Enhancement:
Colour (-4 to +4) -
Global saturation adjustment that works differently with each simulation’s colour science
Sharpness (-4 to +4) -
In-camera detail enhancement that affects both capture and JPEG processing
Noise Reduction (-4 to +4) -
Controls texture preservation vs. smoothing, crucial for maintaining film-like character
Dynamic Range and Exposure:
DR100/200/400 -
Expanded highlight retention at higher ISO settings, particularly useful in challenging lighting
Auto ISO - Intelligent exposure control that works seamlessly with simulation characteristics
Film-Like Effects:
Grain Effect (Off/Weak/Strong) -
Adds authentic film-like texture that scales naturally with ISO and simulation choice
Colour Chrome Effect -
Enhanced colour separation in highly saturated areas for more natural colour transitions (available on newer models)
Colour Chrome FX Blue -
Improved sky and water rendering with better gradation and colour depth (available on newer models)
White Balance Fine-Tuning:
Red/Blue bias adjustments -
Fine-tune colour temperature and tint to match shooting conditions or creative vision
Custom white balance presets -
Create specific colour temperature settings for consistent results
Advanced Processing (newer cameras):
Clarity -
Localised contrast enhancement that adds punch without global contrast adjustments (available on newer models)
Color Chrome Blue -
Enhanced blue colour reproduction for more natural skies and water (available on newer models)
I hope you like my favourite recipes and use them while shooting with your Fujifilm camera. Fujifilm cameras may not be the best in autofocus and low light performance, but their film simulations provide film and analog shooters a way to recreate the look of film in a digital world.
Tags: photography